step 1:
run your file setup in the folder

during your installation make sure that your (SID) is change or you can maintain the default database name which is ORCL you can change it to your desired SID

Continue your setup process , the product-specific prerequisite checks perform a random check that matches your system requirement , also make sure that your operating system is updated and validated and your network configuration adapter is complete, as this will indicate an error at the end of your installation

check your directory where you want your drive file to be installed make sure you direct it to C:/

installing progress
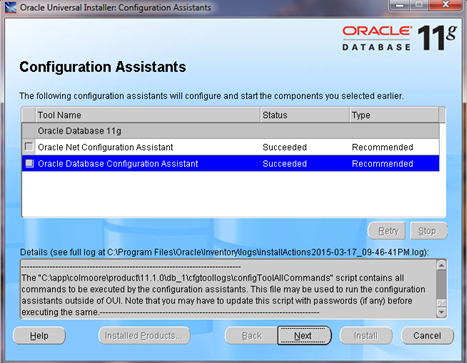
click on exit while your installation is complete

TESTING YOUR INSTALLATION SUCCESS!!!
To test that your installation completed successfully, perform the following steps:
Open a browser and enter the following URL:
https://<hostname>:1158/em
where <hostname> should be changed to your machine name, IP address, or localhost.
Because Enterprise Manager Database Control is a secure site, you need a certificate. Select the Accept this certificate permanently option, and then click OK.
Enter system as the User Name and oracle as the Password, and then click Login.
The Database Control Home Page appears. Your installation was successful.
Back to Topic List
Summary
In this tutorial, you learned how to install and test the Oracle Database 11g installation on Windows. 7 ultimate or other windows
No comments:
Post a Comment